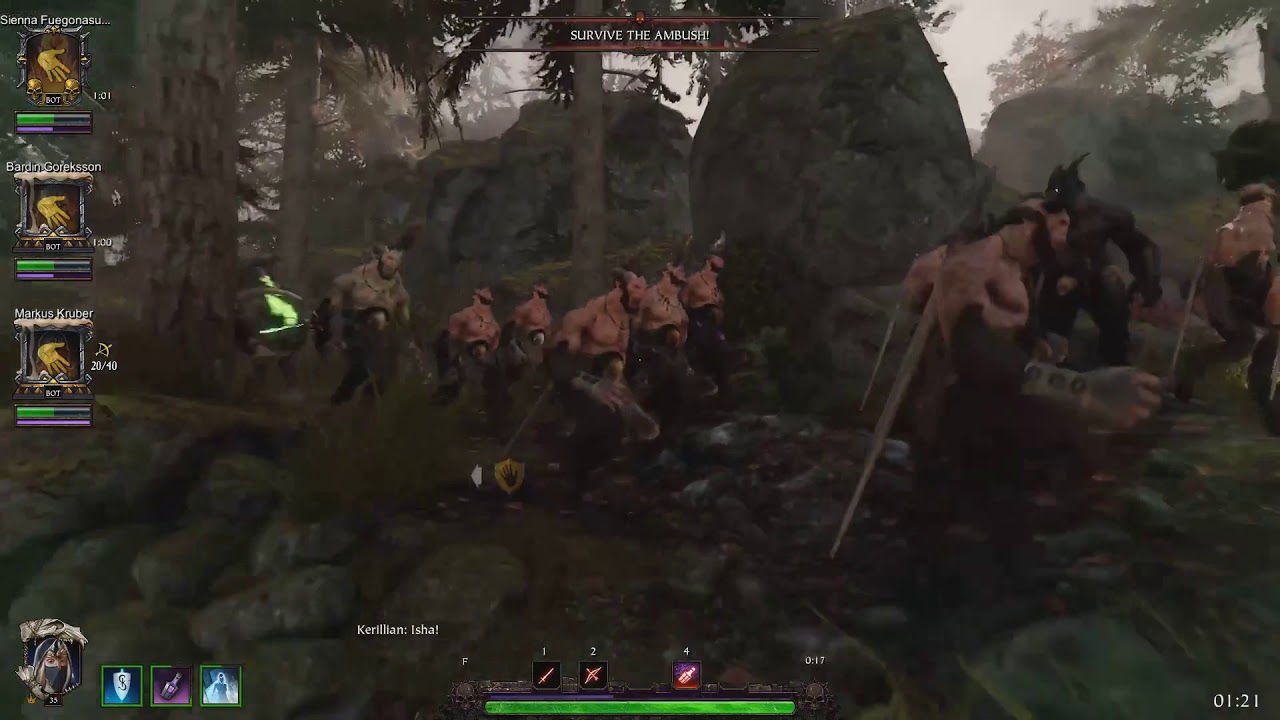
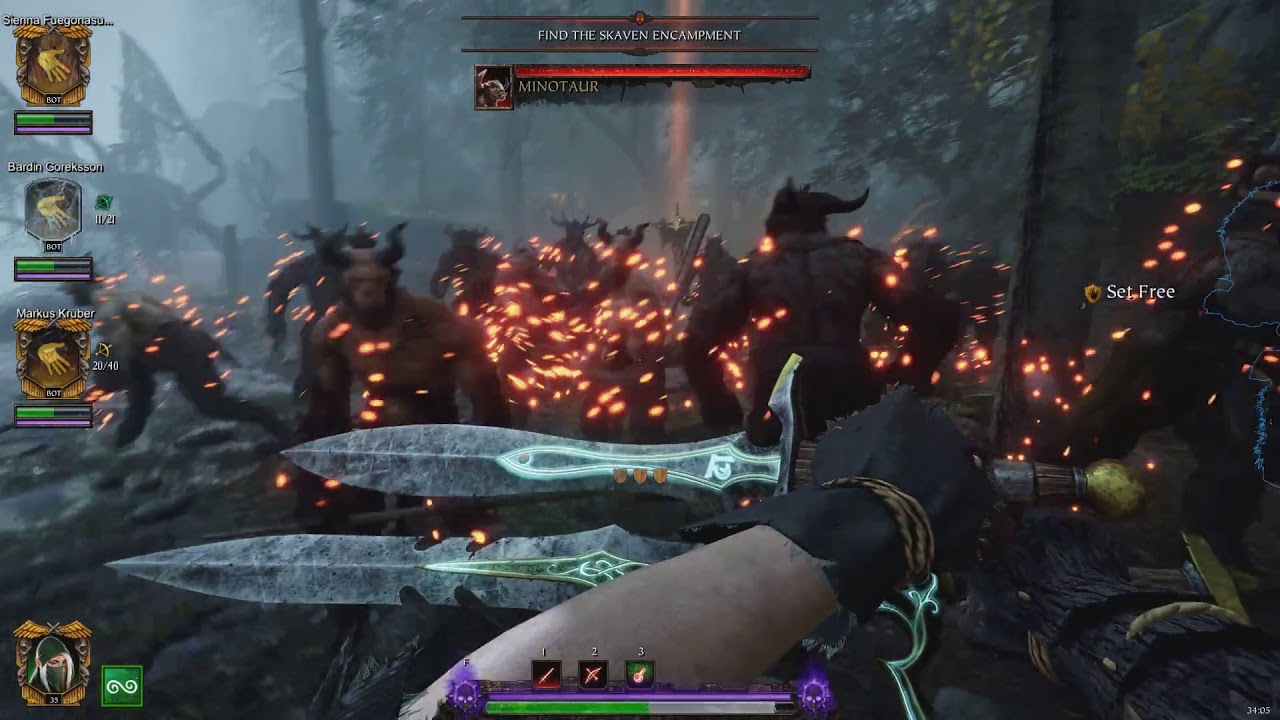
This is a guide to beastmen, their behaviors, and ways to fight them.
Last updated: January 15th, 2020. Patch 2.1.0 (BETA).
All Plays TV links have been replaced with YouTube links.
Updated the "Standard vicinity movement prevention & destruction" video to reflect the changes to standards(Patch 2.0.13) where "torches, explosive grenades and explosive barrels can now damage the Beastmen banners."
Updated a few parts of the guide with notes to reflect changes from various patches.(Such as the removal of the Gor's kick in Patch 2.0.15.)
October 1st, 2019. Patch 2.0.12.1 - Updated parts of the guide to reflect Beastmen changes in patch 2.0.12.
September 23, 2019. Patch 2.0.11.2 - Added Patrols to the guide.
Ungor and an Ungor Archer
-
Ungor(and their archer variant) are extremely weak. They can be killed and pushed around with relative ease. They’re so prone to stagger that even basic hits will send them flying around(which can make it difficult to finish them quickly).
-
They are unarmored Chaos and Infantry class.
-
The arrows of Ungor Archers can be dodged. You can close the gap so they lose their ranged weapon and engage in melee or end their ranged attacks by shooting them yourself.
- Note: As of Patch 2.0.12, Ungor Archers have a dark skin tone and tattoo(s). This video is pre-2.0.12.
- Note: As of Patch 2.1.0 (BETA), Ungor Archer’s arrows can now be blocked by all melee weapons within “effective” block angle. (Same as how shield weapons function currently).
-
-
When engaging Ungor Archers mixed with other enemies, it’s ideal to either leave their line of sight and engage the other enemies or close the gap to make them engage in melee instead of ranged.
- Note: As of Patch 2.0.12, Ungor Archers have a dark skin tone and tattoo(s). This video is pre-2.0.12.
- Ungor attack behaviors. Standing and lunging attacks. Note that their attack patterns are quite basic.
-
Fighting a group of Ungor against a wall
- Note: As of Patch 2.0.12, Ungor will no longer leap back at times as seen in this video. Ungors can also no longer attack between their own allies with their spears.
-
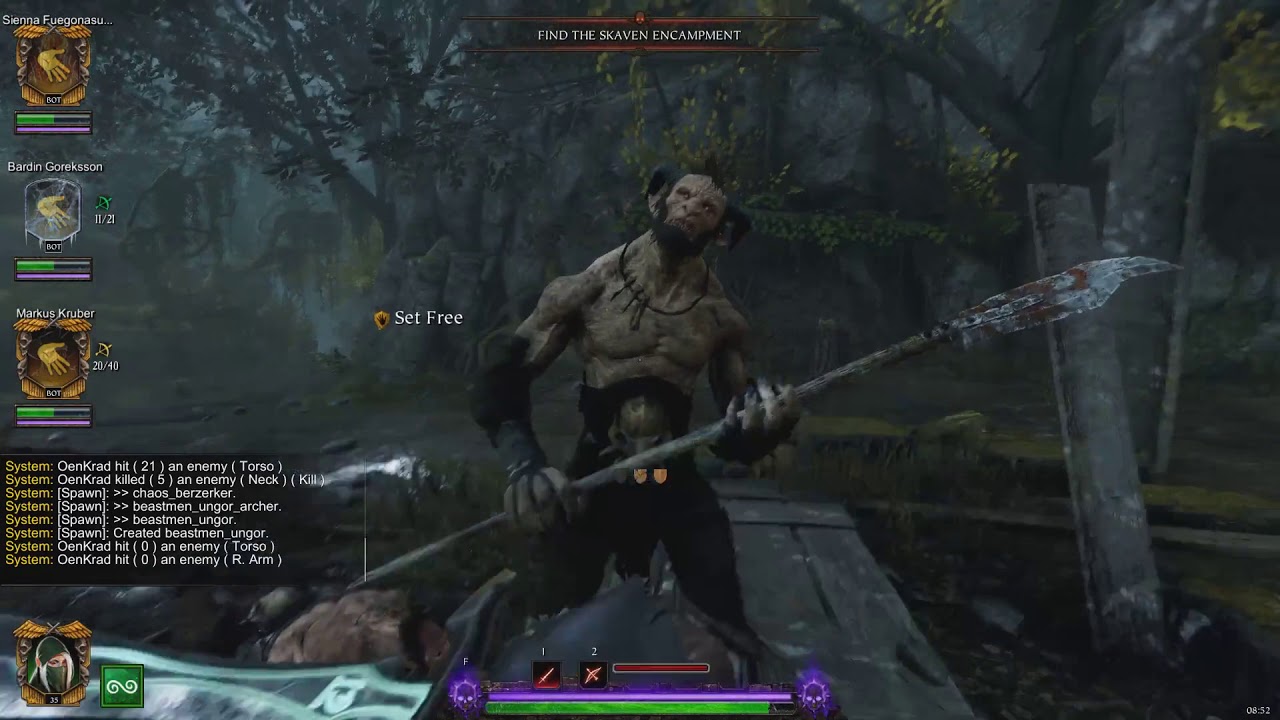
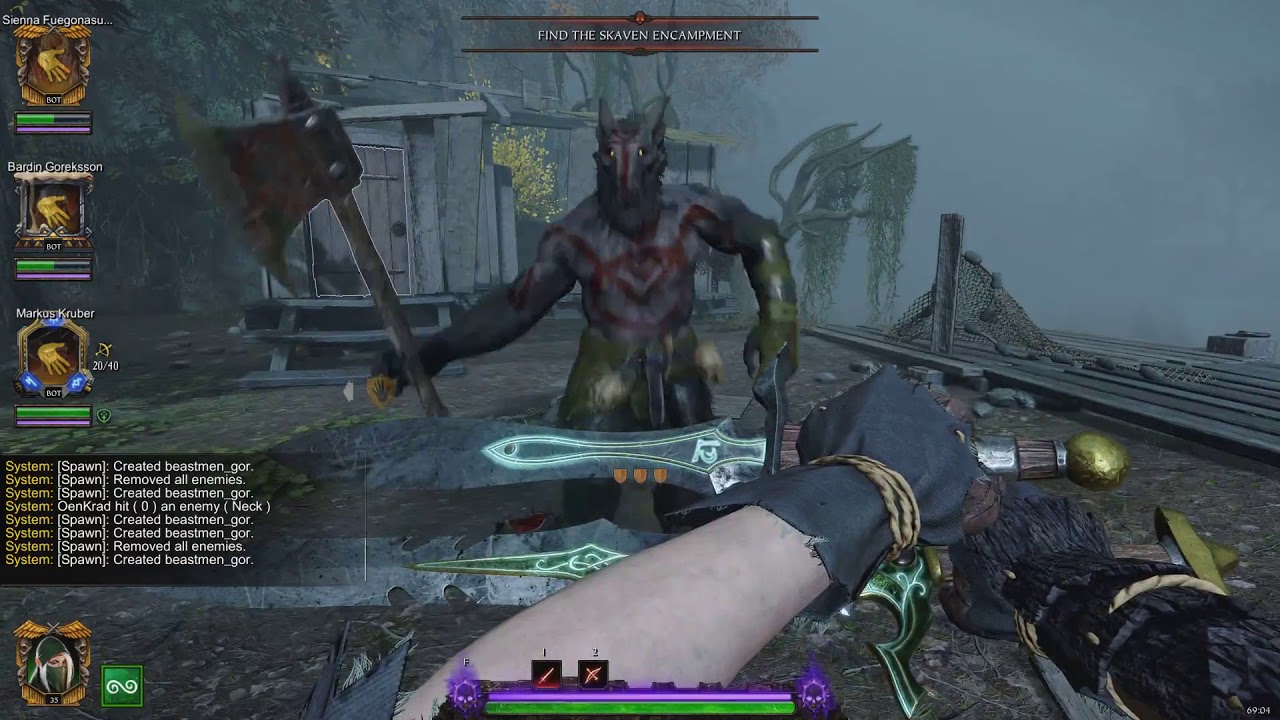
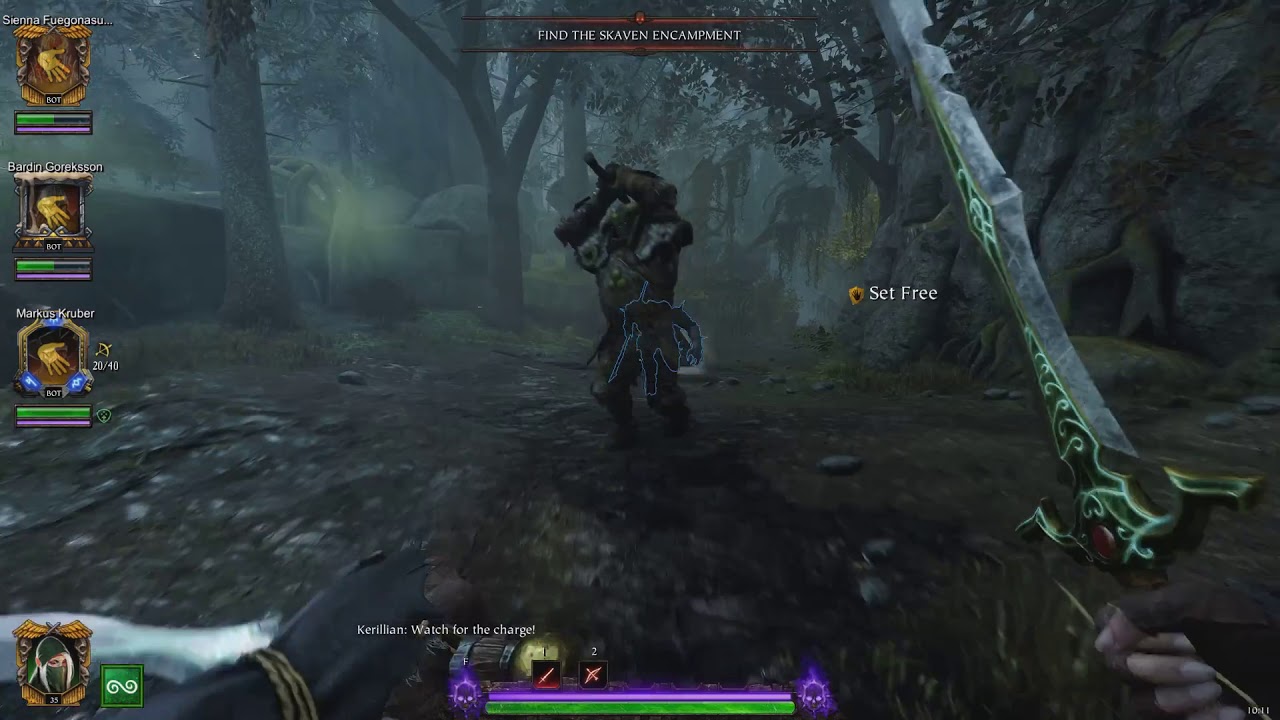
Gor are the bread and butter of beastmen hordes. Stronger than Ungor, but still rather easy to bully(stagger) with pushes and attacks. Gor have a large variety of attacks, but what those attacks accomplish can be narrowed into three things: Standing attack, standing knock back attack, and lunging attack.
-
They are unarmored Chaos and Infantry class.
-
Gors actually have three different headbutt attacks. Two standing still; both of which knock a player back. The third headbutt is done as a lunging attack.
They have four knock back attacks. All standing still. Two of which are headbutts. The others are a punch and a kick.- Note: As of Patch 2.0.15, Gors no longer use their kick attack since it telegraphed very poorly.
-
Headbutt knock back where he backs up like a goat and then charges with a headbutt.
-
- Headbutt knock back where he leans back then slams his head forward.
- Headbutt where he lunges
- Kick and a punch, both of which knock back.
- Note: As of Patch 2.0.15, Gors no longer use their kick attack since it telegraphed very poorly.
- General Gor behavior. Standing attacks and lunging attacks. Easy to push around, just like Ungors.
- Fighting a group of Gor. Not much more challenging than fighting Ungor.
-
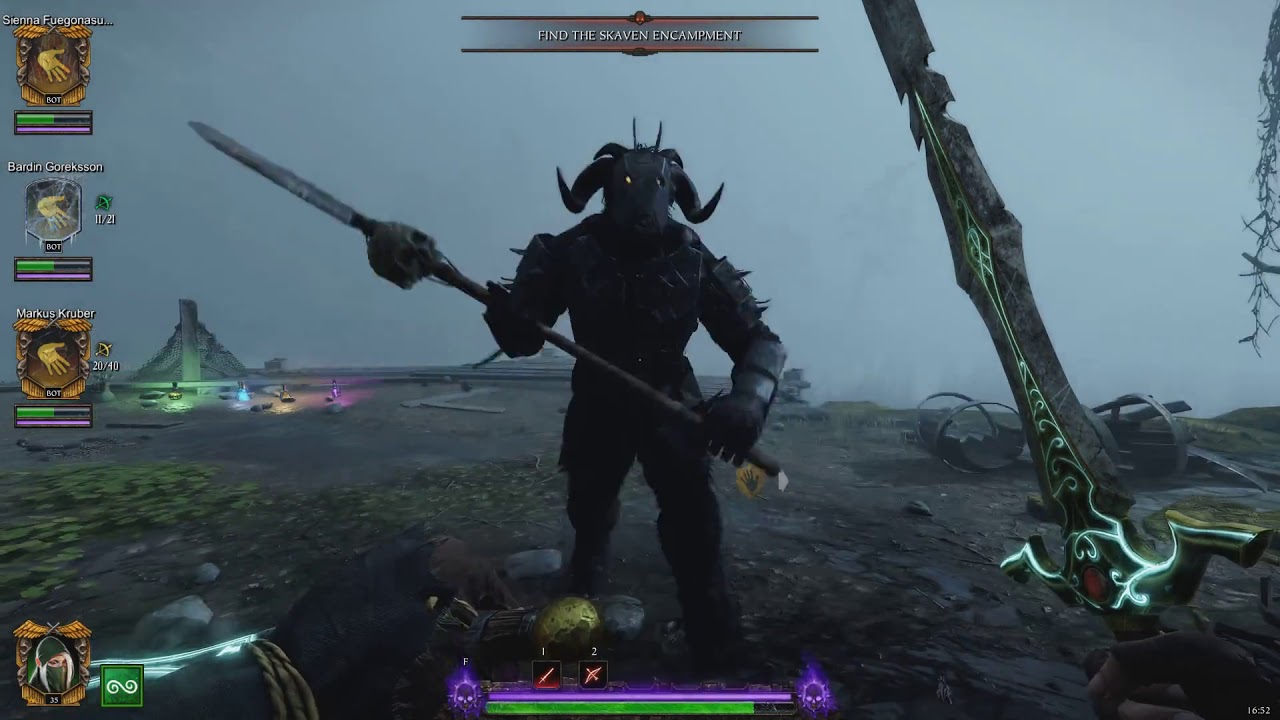
Bestigors are beastmen elites. They’re armored just like Storm Vermin. Weak in the head, sturdy in the body. They close the gap by charging then engage in melee combat. Being hit by the charge is dangerous. Tough, but like Storm Vermin, a little effort will take them down swiftly.
-
Bestigors are Chaos and Armor class.
-
Dodging Bestigor charges. At the start of a charge for the targeted player, a deep and resonating sound will play for that player. Bestigors will cancel their lunge attack during the charge if the angle to the target is too high. Bestigors also require line of sight in order to charge a player. Charge attack damage doesn’t scale beyond Legend difficulty. Can be dodged to either side and also backwards. A little practice will make it easy.
-
- Consequence for failing to dodge a Bestigor charge is low damage(or high stamina loss if you block) and a debilitating slow. Makes you easy prey for other enemies.
- Bestigors have rules. A player can only be charged by a single Bestigor every 10 seconds. This 10 grace period is shared by all Bestigors for a player. Each player has their own, separate 10 second grace period following a Bestigor charge(or even an attempted charge). For example, this means that even though Kerillian was just charged, Bardin could still be charged if he hasn’t been in the last 10 seconds.
Note: The beta patch note says 4 seconds minimum grace period, but all my tests show 10 seconds so that’s what I will maintain.
- Another two examples of only a single Bestigor being able to charge at a time.
- Bestigors, like Storm Vermin, are vulnerable in the head to all attacks but resistant to many types of attacks in the body.
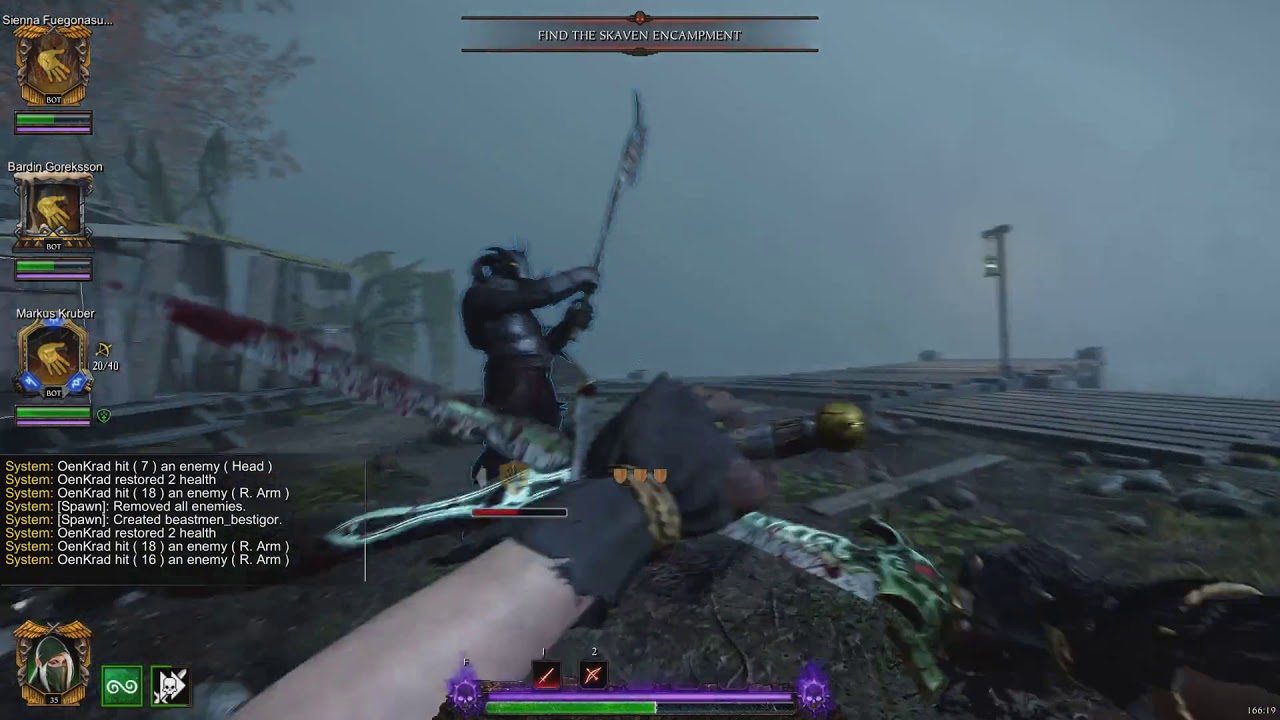
- Bestigor moves. They attack with a swing from either side, an overhead, a push(no damage), or a lunging attack. The overhead attack is the most powerful and dangerous. Proper dodging is ideal when fighting this enemy so you don’t expend unnecessary health or stamina.
- Fighting a Bestigor. They can be quick to attack, but they also make themselves vulnerable with their slow recovery times from attacking.
- Bestigor charge will affect all enemies except bosses.
-
Standard Bearers(A.K.A. Wargors) are the special enemy of beastmen. They boast super armor bodies and always spawn with a group of Gor and/or Ungor. When they are close enough to a player, they will plant their standard into the ground creating a massive, buffing aura. This aura grants increased maximum health and health regeneration to all beastmen(and only beastmen) in the vicinity. The standard’s aura is extremely dangerous.
-
Standard Bearers are Chaos and Armor class.
-
The escort of Standard Bearers is as follows:
- Recruit: 2 Ungors
- Veteran: 2 Ungors, 1 Gor
- Champion: 2 Ungors, 2 Gor
- Legend: 3 Gor, 1 Ungor
- Cataclysm: 4 Gor
-
Standards have a radius of 15 meters.
- Note: Scaling for the Standard Bearer’s escort was added and the standard’s radius was changed from 25 to 15 meters. Since Patch 2.0.12.1.
-
Standards being planted or destroyed will repulse or disrupt all nearby enemies. If players are far enough away, the Standard Bearer will pick up the standard and move it closer to a player. It is ideal to either destroy the standard, kill the Standard Bearer before he plants it, or bring enemies outside of the aura to fight. Standard Bearers will stand by the standard and protect it. If the standard is destroyed, they will follow and fight players like any other enemy. The only way to remove a standard is to melee it, frag bombs, explosive barrels, or lamp oil. Torches also destroy standards but they take many hits and you’d be better off dropping the torch to use your melee weapon.
-
- Minus the charge and push, Standard Bearers fight with attacks identical to Bestigors. It’s important to note that they have super armor bodies instead. This makes them resistant to even more attacks than regular armor(E.G. they gain immunity to Burns and Bleeds unless a strength potion is active). They still have vulnerable heads though.
- Note: Before the end of Season 1, a change was made to have burns affect super armor. This change was never reflected in any patch notes. Given the unique nature of Standard Bearers (their heads aren’t super armor), bleeds will also affect them. Poison does 1 damage a tick. Normal super armor enemies like Chaos Warriors will still be immune to bleeds and from poison they take 1 damage a tick as well.
- The standard’s effect of increased maximum health and health regeneration only affects beastmen so long as they are in the vicinity. If they leave it, they will lose the effects. This can cause them to die if their health is low enough and they leave the vicinity as the only thing keeping them alive was the standard’s bonus to maximum health. The effects are most potent on weaker units, as the increased maximum health has less of an effect on tougher enemies. The health regeneration is the more worrisome buff tougher enemies receive. It only takes 1-2 hits to destroy a standard.
- Fighting inside of the aura can be a losing fight. It’s important to try and deal with the banner issue as soon as possible.
- Standards can be used to catapult yourself in fun and useful ways.
-
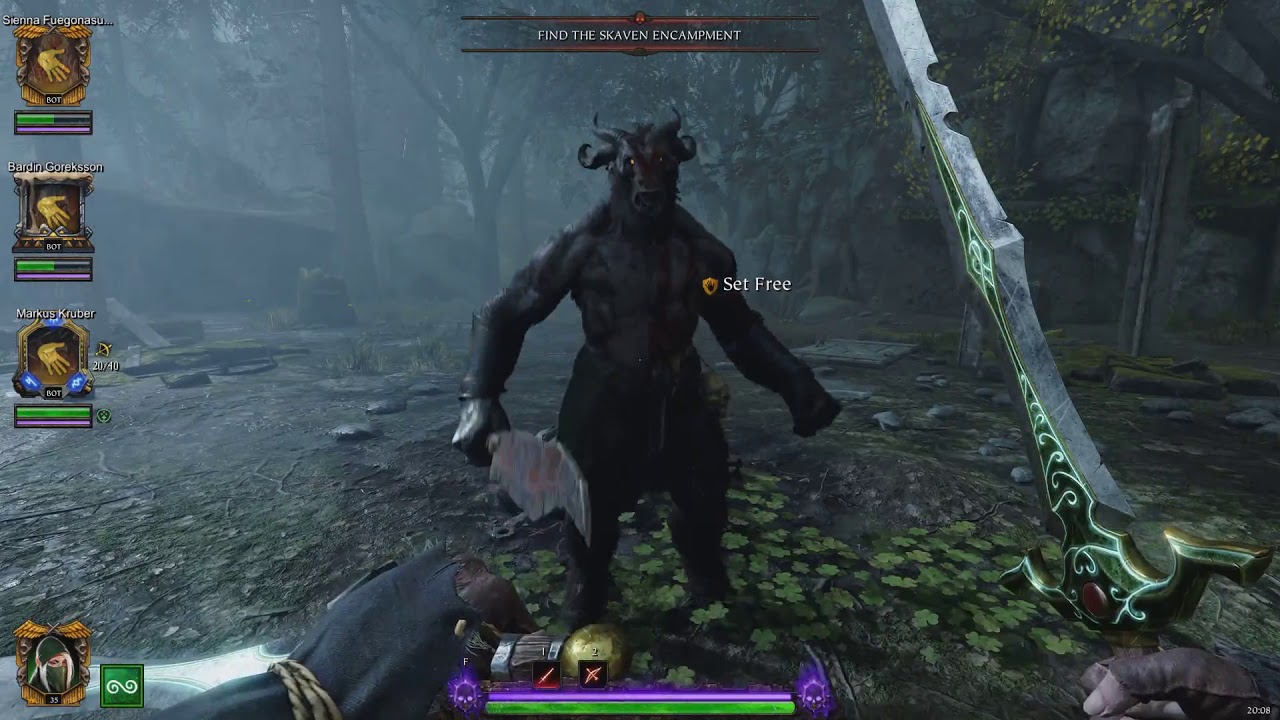
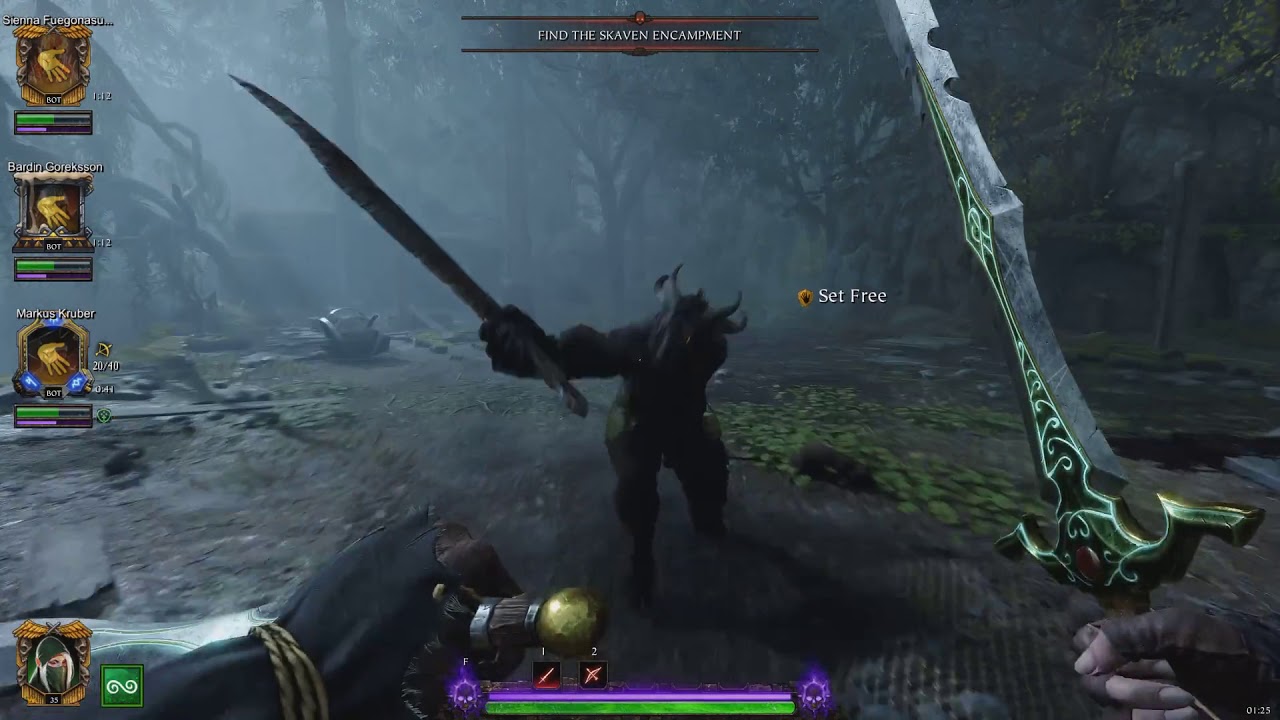
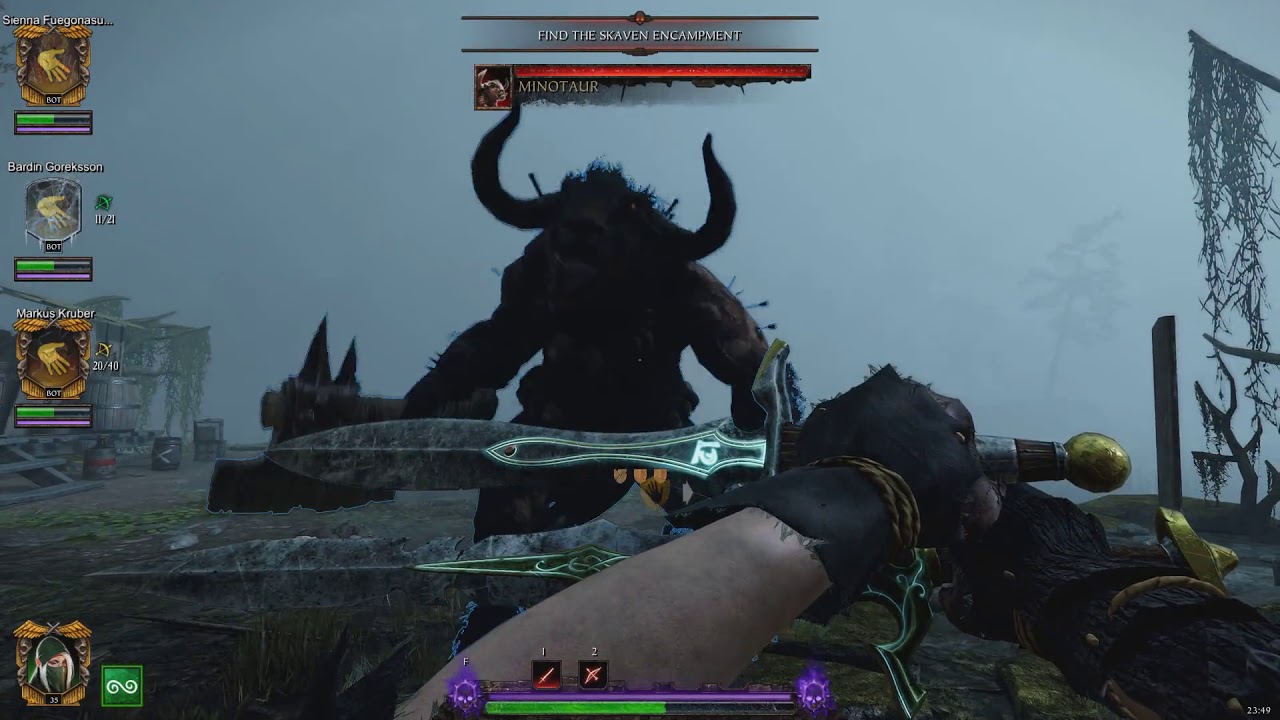
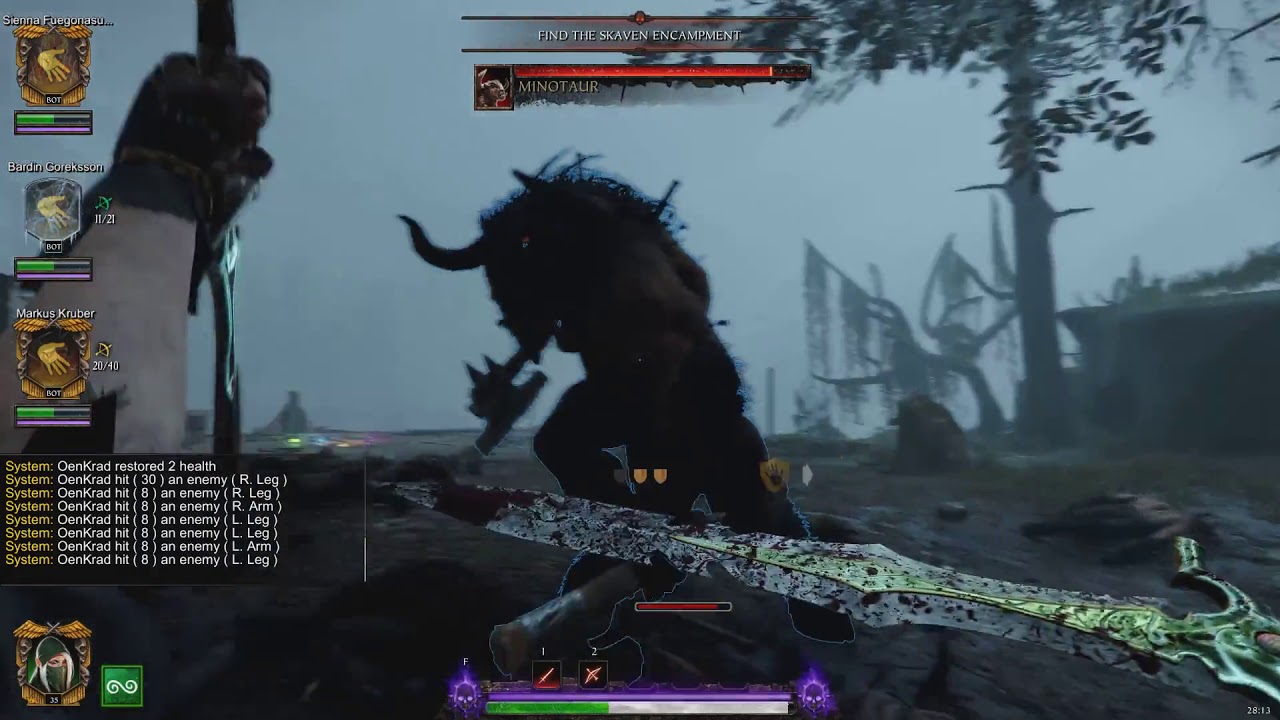
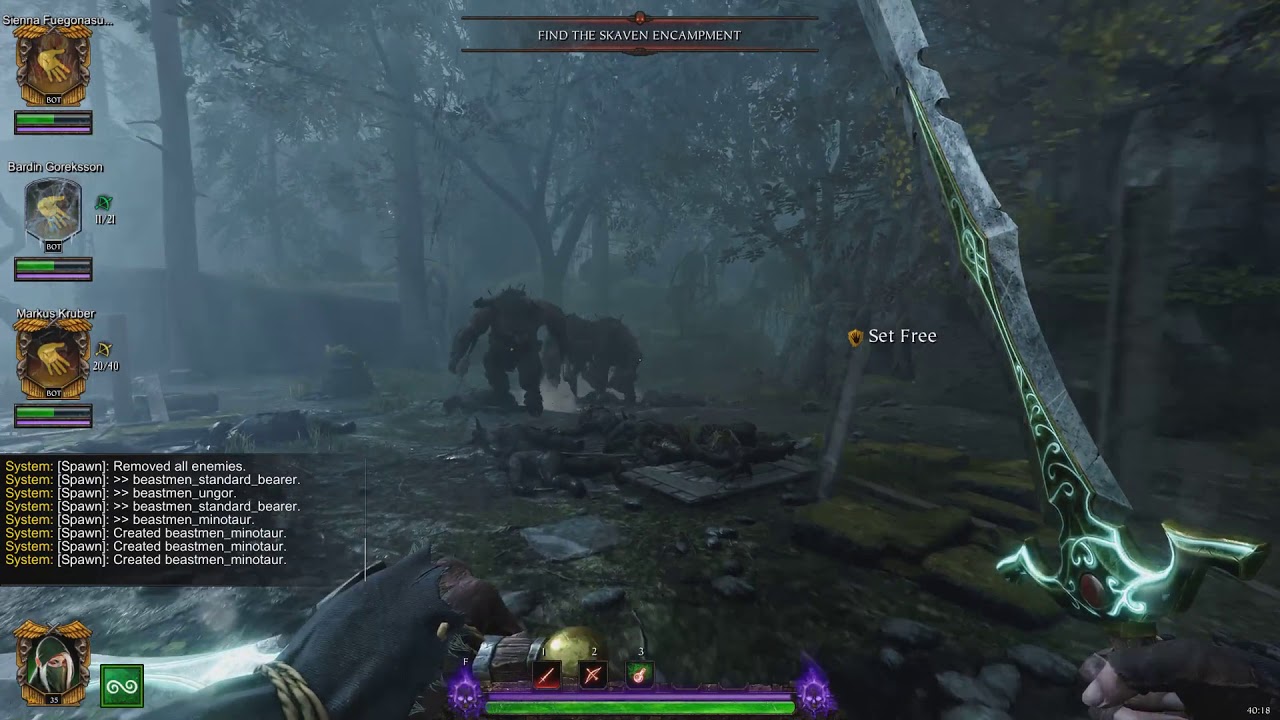
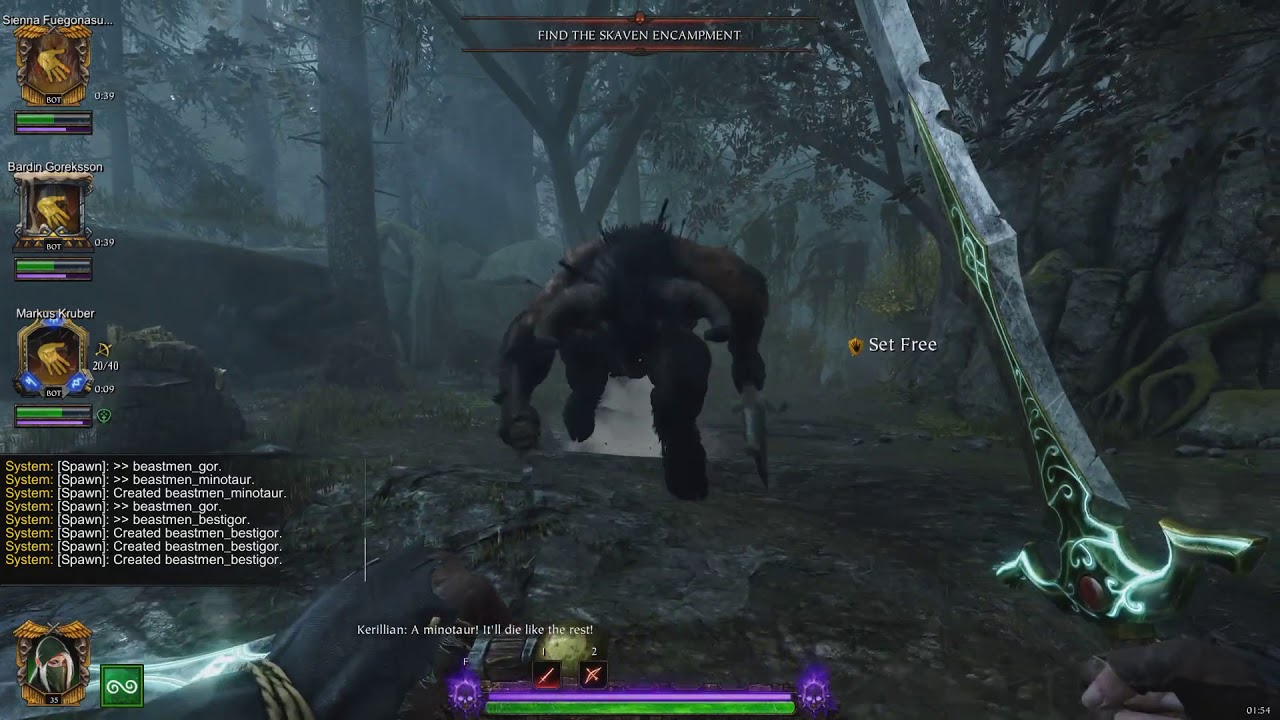
Minotaurs are the boss enemy of beastmen. When targeting a player far enough away, they will always charge the player. Their attacks consist of a charge, 3 attack lunging combo, and standing attacks. Taking the full force of the lunging combo or charge is dangerous. Dodging is important. Note that they have “berserker-like attacks” but are not actually berserkers. They are unarmored monster and chaos class.
- Minotaurs will always open up with a charge towards their target if that target is far enough away. They do not require line of sight to start a charge. The charge knocks players back a considerable distance if it hits. The charge will always deal direct damage to player health regardless if a player is blocking. The only exception to the direct damage is a shield, which will prevent health damage. It is important to dodge the charge if you aren’t holding a shield. You can only dodge a minotaur charge through a side dodge(left+back or right+back are also acceptable dodges). Dodging backwards will result in the player being hit. Minotaurs can’t charge off of cliffs.
- Minotaurs at a distance will start a fight with a charge. They will then attack you with one of their regular moves. The 3 hit lunging combo is an attack with a single weapon, then both weapons, then both weapons again; all of that while moving towards their target. The other two attacks are stationary: a single swing from their left or right and a headbutt that drains a lot of stamina and knocks the player back. Their only move that can hurt a player through block is the charge.
- Minotaurs will plow through their allies to reach their target. Other bosses are the only ones not affected in any way from a Minotaur charge.
- Fight against a Minotaur. The more refined your movements, the more opportunities you will give yourself to hit them. If you’re too far away they will go into a lunging combo. If you’re close to them, they will typically engage with a stationary attack. Results may vary.
-
Rules and exceptions for Bestigors and Minotaurs.
-
Bestigors and Minotaurs actually share the charge grace period rule mentioned earlier for Bestigors. The difference between Bestigors and Minotaurs though is that Minotaurs are exempt from all rules. So even if a player is in their 10 second grace period from charges, a Minotaur can and will still charge if the player is the Minotaur’s target and they are far enough away. There is no limit on how many Minotaurs can charge a single player at any given time.
However, if a Minotaur charges a player, that player will receive the 10 second grace period from charges. This means that while Minotaurs may charge the player(due to exemption), Bestigors can’t charge the player for 10 seconds after a Minotaur has charged the player(because the player is in their grace period). -
Minotaurs are also exempt from the line of sight rule on charges.
-
- Charges can be stopped through means such as knock back moves(like Witch Hunter Captain active) or bombs. Explosive barrels will not work.
-
Patrols for Beastmen have two compositions, unlike the Skaven and Chaos. They are as follows:
- 1 Standard Bearer(lead)
- 4 Gor
- 6 Bestigors
- 15 Ungor Archers(in the rear)
OR - 1 Standard Bearer(lead)
- 8 Gor
- 8 Bestigor
The above is for Cataclysm. Lower difficulties scale this down.
Beastmen, when mixed, become a powerful force to fight. It’s important to remember the strengths and weaknesses of them and to fight them effectively, even when they’re mixed together. Dodging charges, blocking, dodging arrows as much as possible, and so on. It’s a great challenge but that is also why you’re known as the Ubersreik 4(or 5, doesn’t matter), not 1.

